Step 2 - Pipelines
June 28, 2023
Updated Dec 18, 2025
-
![]() Thomas Jungbauer
-
3 min read
(526 words)
Thomas Jungbauer
-
3 min read
(526 words)
We will now create the Pipeline and try to trigger it for the first time to verify if our Webhook works as intended.
Goals
The goals of this step are:
Create the Pipeline with a first task
Update the Github repository, to verify if the Webhook works
Verify if the PipelineRun is successful
Create the Pipeline
The Pipeline object is responsible to define the Tasks (steps) that should be executed. Whenever a Pipeline is started a PipelineRun is created that performs each defined Task in the defined order and logs the output. Tasks can run subsequently or in parallel.
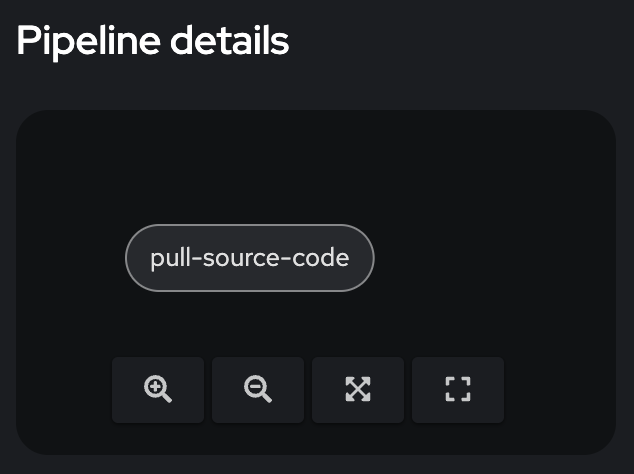
Currently, the Pipeline has one task pull-source-code which is defined as a ClusterTask "git-clone". The purpose is to simply pull the source code to the workspace "shared-data".
apiVersion: tekton.dev/v1beta1
kind: Pipeline
metadata:
  name: secure-supply-chain (1)
  namespace: ci
spec:
  params: (2)
    - name: REPO_HOST
      type: string
    - name: COMMIT_SHA
      type: string
    - name: TLSVERIFY
      type: string
    - name: BUILD_EXTRA_ARGS
      type: string
    - name: IMAGE_REPO
      type: string
    - name: IMAGE_TAG
      type: string
    - name: GIT_REF
      type: string
    - name: COMMIT_DATE
      type: string
    - name: COMMIT_AUTHOR
      type: string
    - name: COMMIT_MESSAGE
      type: string
    - name: GIT_REPO
      type: string
  tasks: (3)
    - name: pull-source-code (4)
      params:
        - name: url (5)
          value: $(params.GIT_REPO)
        - name: revision
          value: $(params.GIT_REF)
        - name: deleteExisting
          value: 'true'
      taskRef: (6)
        kind: ClusterTask
        name: git-clone
      workspaces: (7)
        - name: output
          workspace: shared-data
  workspaces: (8)
  - name: shared-data
1 Name of the Pipeline as referenced in the TriggerTemplate. 2 List of Parameters, hopefully, injected by the EventListener. 3 List of Tasks that will be executed. 4 Name of the Task. 5 Parameters used in this Task. 6 The Reference to the task. Here a ClusterTask named "git-clone" is used. 7 Workspace that shall be used in this Task. 8 Workspaces available in this Pipeline. The initial Pipeline will now look like the following (Go to: Pipelines > Pipelines > secure-supply-chain)
Our first Run
Now it is time to update something in our Git Repository and verify if everything can be executed successfully.
To update, it is enough to simply add a space in the README.md file and push it to Git.
If the Webhook works as expected, Git will notify our EventListener, which will then trigger the Pipeline. A PipelineRun is created, that executes all Tasks that are defined in the Pipeline (currently just 1)
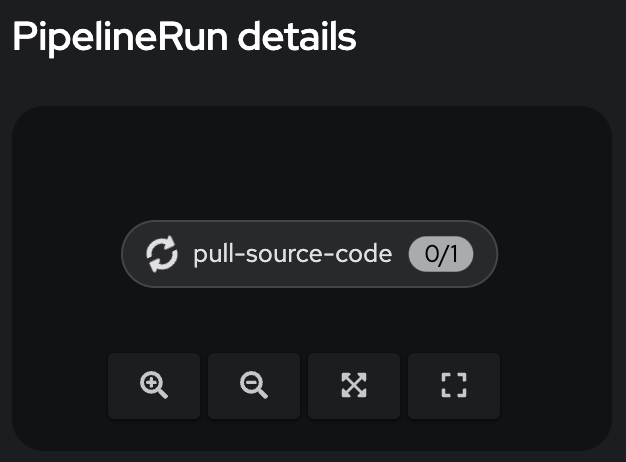
You can monitor the progress of the PipelineRun:

On the Details-page you can see which step is currently executed:
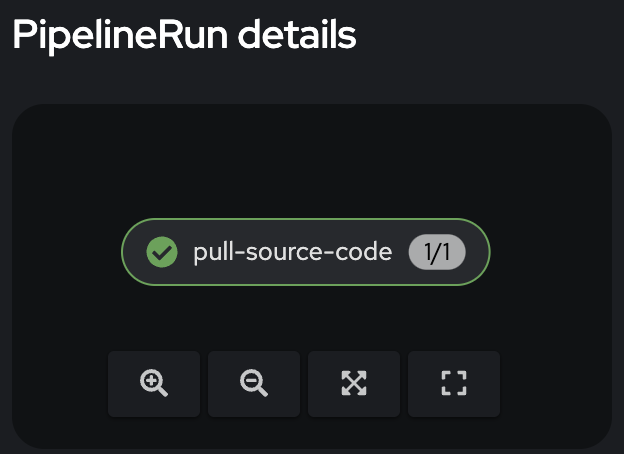
Eventually, the PipelineRun finishes successfully.
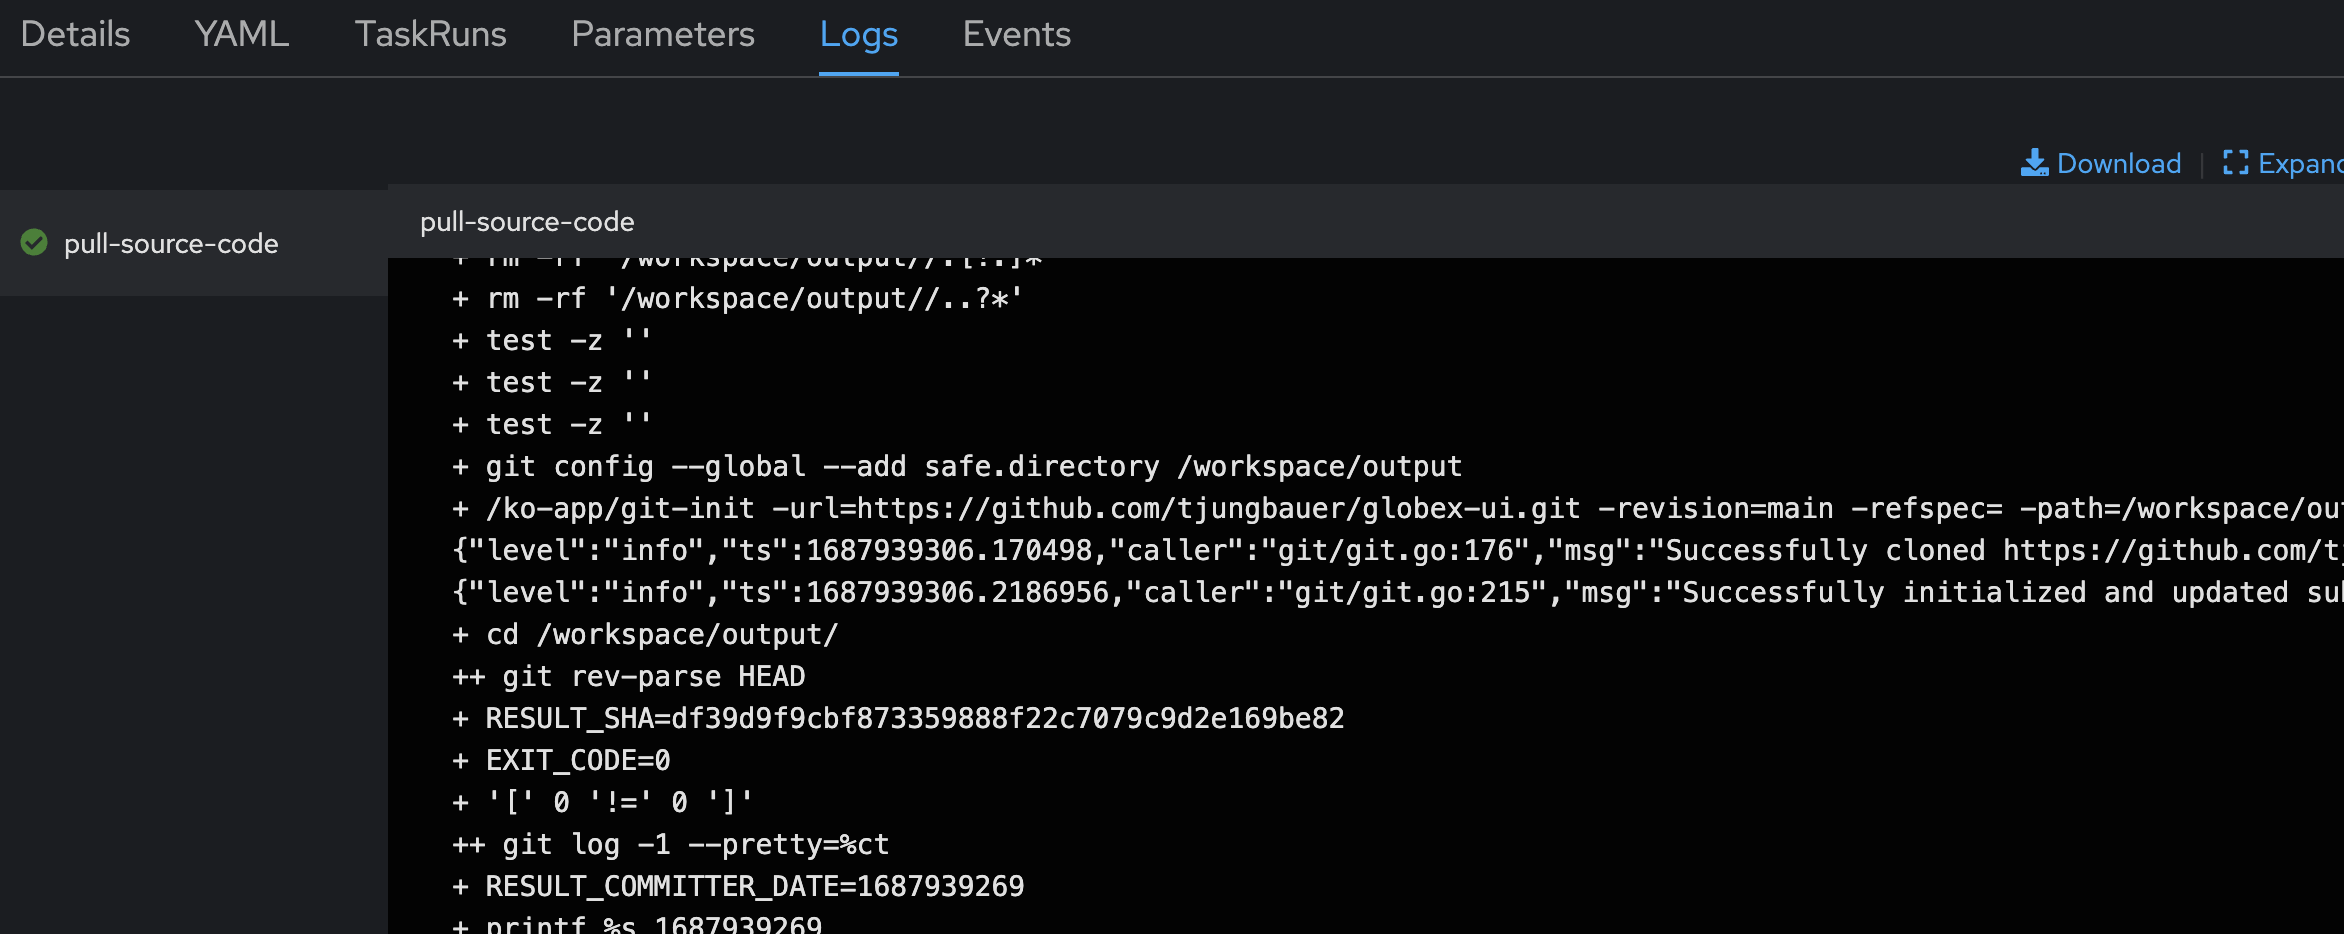
You can analyze the Logs in case of an Error or to get more details of a certain Task:
Summary
We have now created our first Pipeline and tested the GitHub Webhook. Whenever we push changes to the code, Git will notify the EventListener which will trigger the Pipeline with all required Parameters.
A PipelineRun is generated and is executing the defined Tasks. Currently, not much is done, expect cloning the Git repository.
In the next steps, we will evolve our Pipeline to perform security checks and sign our image.
Related Articles
Copyright © 2020 - 2026 Toni Schmidbauer & Thomas Jungbauer
Discussion
Comments are powered by GitHub Discussions. To participate, you'll need a GitHub account.
By loading comments, you agree to GitHub's Privacy Policy. Your data is processed by GitHub, not by this website.