Secure your secrets with Sealed Secrets
- By: Thomas Jungbauer ( Lastmod: 2021-09-25 ) - 3 min read
Working with a GitOps approach is a good way to keep all configurations and settings versioned and in sync on Git. Sensitive data, such as passwords to a database connection, will quickly come around. Obviously, it is not a idea to store clear text strings in a, maybe even public, Git repository. Therefore, all sensitive information should be stored in a secret object. The problem with secrets in Kubernetes is that they are actually not encrypted. Instead, strings are base64 encoded which can be decoded as well. Thats not good … it should not be possible to decrypt secured data. Sealed Secret will help here…
Sealed Secrets by Bitnami[1] is one option to create real, encrypted secrets. It contains two parts:
A cluster-side controller / operator, which decrypts the secrets server-side on OpenShift installed in a dedicated namespace usually called
sealed secrets.kubeseal- a client-side command line tool
Prerequisites
An OpenShift 4 cluster with cluster-admin permissions.
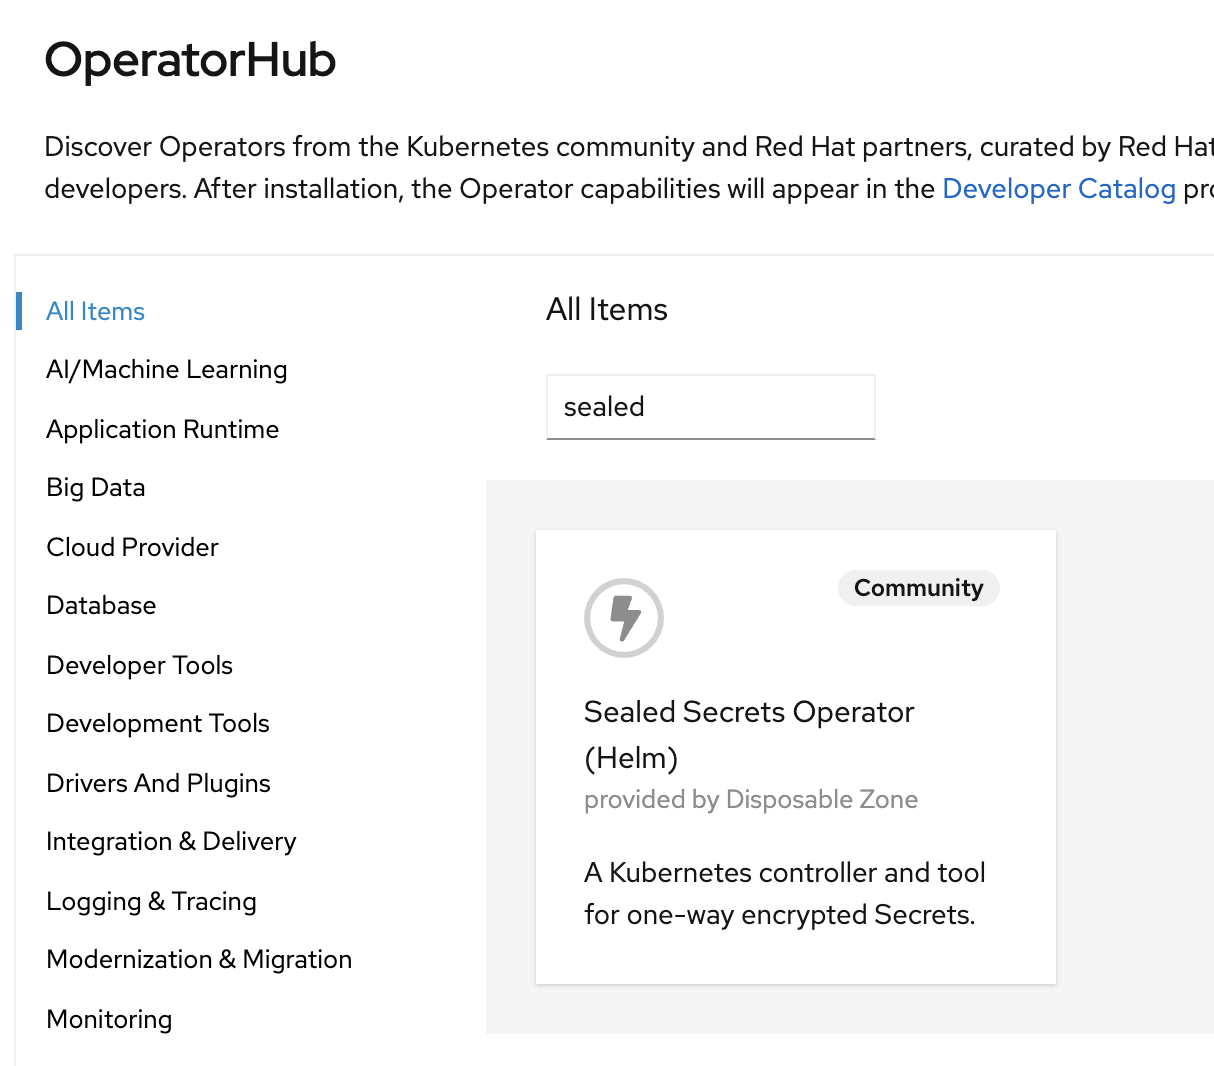
Sealed Secrets Operator
Goto OperatorHub and search for Sealed Secrets (This is a Community Operator)
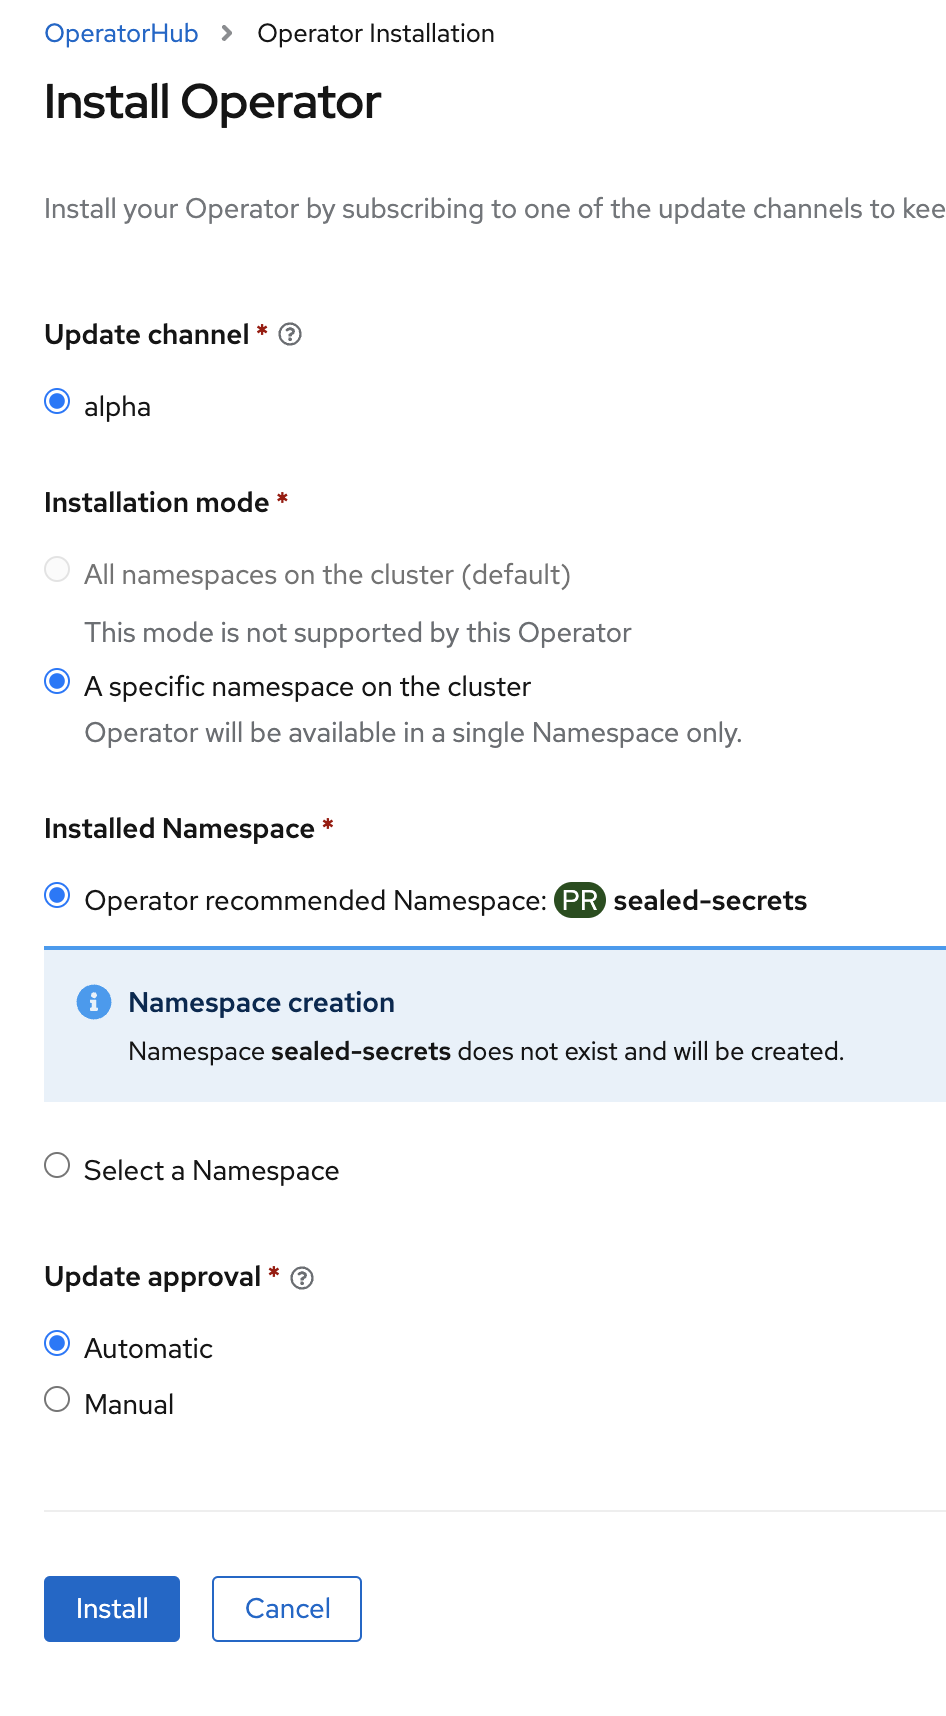
Install the operator, using the default settings, into the namespace
sealed-secrets
Install the CRD SealedSecretController
Install the following object. For now the default values can be used.
apiVersion: bitnami.com/v1alpha1
kind: SealedSecretController
metadata:
  name: controller (1)
  namespace: sealed-secrets
spec:
  networkPolicy: false
  nodeSelector: {}
  podLabels: {}
  resources: {}
  affinity: {}
  securityContext:
    fsGroup: ''
    runAsUser: ''
  rbac:
    create: true
    pspEnabled: false
  crd:
    create: true
    keep: true
  ingress:
    annotations: {}
    enabled: false
    hosts:
      - chart-example.local
    path: /v1/cert.pem
    tls: []
  serviceAccount:
    create: true
    name: ''
  image:
    pullPolicy: IfNotPresent
    repository: >-
      quay.io/bitnami/sealed-secrets-controller@sha256:8e9a37bb2e1a6f3a8bee949e3af0e9dab0d7dca618f1a63048dc541b5d554985
  secretName: sealed-secrets-key
  tolerations: []
  controller:
    create: true
  priorityClassName: ''
podAnnotations: {}| 1 | Be aware of the name of the controller OBJECT (name: controller). It is used lated as part of the actual controller name |
Install the command line tool kubeseal
The kubeseal binary can be easily installed using either
on Mac: brew install kubeseal or
on Linux:
wget https://github.com/bitnami-labs/sealed-secrets/releases/download/v0.16.0/kubeseal-linux-amd64 -O kubeseal

install -m 755 kubeseal /usr/local/bin/
Testing Sealed Secrets
Create a new project
oc new-project myprojectCreate a secret
echo -n "my_super_secret_string" \
    | kubectl create secret generic mypasswords --dry-run=client --from-file=password=/dev/stdin -o json \
    | kubeseal --controller-namespace=sealed-secrets --controller-name=controller-sealed-secrets --format json > mysealedsecret.json (1)
1 The switches --controller-namespace define the namespace where the operator is installed, --controller-name is a combination of the SealedSecretController object name and the name of the namespace The
password=my_super_secret_stringis created and piped into kubeseal which is using the controller, where the server created a certificate for encryption, to create an encrypted json file mysealedsecret.json. It is important to note, that the actually Kubernetes secret object is not created at this stage.The file mysealedsecret.json is encrypted now and it is safe to store this file on Github.
It looks like this:
{
  "kind": "SealedSecret",
  "apiVersion": "bitnami.com/v1alpha1",
  "metadata": {
    "name": "mypasswords",
    "namespace": "myproject", (1)
    "creationTimestamp": null
  },
  "spec": {
    "template": {
      "metadata": {
        "name": "mypasswords",
        "namespace": "myproject", (1)
        "creationTimestamp": null
      },
      "data": null
    },
    "encryptedData": {
      "password": "AgBsSZVcTfzfNFI7ZlCsH3/4b3L7m52/O9f70pMtn1myPWHeY1QJFoxpWkH0tWosfeIoko+iB0kCyFk/iJEYSvd31zgnr90hv4e2qVtEBmm6n5B7V40ZERdiy2Cz7UXakUKDdhTjA0BTjcf0f0b2FRDenGxCHJB7cyOVGOZ36jF6IdP2k6kbsZXklti/4MXK7oskDXGzU7rTsESK0ttk5uQgrpfWrhaUip5+Db5vcG1OlHhMJ7In3NlNr0mbl+YiXsKKDNvyw9T14L3rlfvHz1xe0lIqC72i5LSCarpGoSKNOr+Sev9+b/+no6P4VDPuSLORbwVXlP5kt+8xnpZJIEqnetwhr78dt8F3xmjXVBZncdwKk22Y/b9L+uUKWPAvOT78khpUIHQPo9dV/nmz1ldvu58fCFL4TjOOtyTBcUPD3qQJp+sEXgy63l8hEaMXuLUlk+srSnJfMtwkFhl0CG2fKsg4CsQoZlvq5oKOl50sujg3Trv4W9qVVCYHA7BUXEj6J0DxjOCqSQixHRr7Z7JqIyhhdLYdHwMH80scsIb6Ok7keC82v1yae770NWWxJJ4M7Ieb2ERzgwy825gkdq9nx9I6fVxYJkkZlpKKoTvL0uno4sKjC1yQjCgW1vpiZeLIJO2f9TpvVdK2nrag0/gXPMboAL2BGnMPMwjR7OZm+iHq3NXNKiIV1aWRO4wkd/spWziLjOpeS7T1k9w4XxoACwv3g4it"
    }
  }
}
1 The sealed secret will be created in your project Upload the sealed secret
oc create -f mysealedsecret.json
Verify Secret
The object SealedSecret is created:
oc get SealedSecret

NAME          AGE
mypasswords   3s
The SealedSecretController will decrypt the and store the secret in the namespace. This can take a few seconds:
oc get secret mypasswords

NAME          TYPE     DATA   AGE
mypasswords   Opaque   1      25s
Extract the secret and verify that your string has been stored as "normal" secret
oc extract secret/mypasswords --to=-

# password
my_super_secret_string
Updating or appending new values
The process for updateing or appending a secret is similar. The only difference is that a new value for the key string is new.
# Updaing string
echo -n "my_NEW_super_secret_string" \
    | kubectl create secret generic mypasswords --dry-run=client --from-file=password=/dev/stdin -o json \
    | kubeseal --controller-namespace=sealed-secrets --controller-name=controller-sealed-secrets --format json --merge-into mysealedsecret.json

# Appending
echo -n "my_appended_string" \
    | kubectl create secret generic mypasswords --dry-run=client --from-file=appendedstring=/dev/stdin -o json \
| kubeseal --controller-namespace=sealed-secrets --controller-name=controller-sealed-secrets --format json --merge-into mysealedsecret.json| Be sure that you are in the namespace you want to install the secret |
Upload the sealed secret oc apply -f mysealedsecret.json and extract it again to validate:
oc extract secret/mypasswords --to=-

# appendedstring
my_appended_string
# password
my_NEW_super_secret_string
Sources
Copyright © 2020 - 2024 Toni Schmidbauer & Thomas Jungbauer
Built with Hugo Learn Theme and Hugo