Descheduler is a new feature which is GA since OpenShift 4.7. It can be used to evict pods from nodes based on specific strategies. The evicted pod is then scheduled on another node (by the Scheduler) which is more suitable.
This feature can be used when:
nodes are under/over-utilized
pod or node affinity, taints or labels have changed and are no longer valid for a running pod
The following descheduler profiles are known and one or multiple can be configured for the Descheduler. Each profiles enables certain strategies which the Descheduler is leveraging.
Since the strategies names are more or less self explaining, I did not add their full description here. Instead detailed information can be found at: Descheduler Profiles
AffinityAndTaints - removes pods that violates affinity and anti-affinity rules or taints
RemovePodsViolatingInterPodAntiAffinity
RemovePodsViolatingNodeAffinity
RemovePodsViolatingNodeTaints
TopologyAndDuplicates - evicts pods which are not evenly spreaded or which are violating the topology domain
RemovePodsViolatingTopologySpreadConstraint
RemoveDuplicates
LifecycleAndUtilization - evicts long-running pods to balance resource usage of nodes
RemovePodsHavingTooManyRestarts - Pods that are restarted more than 100 times
LowNodeUtilization - removes pods from overutilized nodes.
A node is considered underutilized if its usage is below 20% for all thresholds (CPU, memory, and number of pods).
A node is considered overutilized if its usage is above 50% for any of the thresholds (CPU, memory, and number of pods).
PodLifeTime - evicts pods that are too old
Descheduler mechanism
The following rules are followed by the Descheduler to ensure that eviction of pods does not go wild. Therefore the following pods will never be evicted:
pods in openshift-* or kube-system namespaces
pods with priorityClassName equal to system-cluster-critical or system-node-critical
pods which cannot be recreated, for example: static or stand-alone pods/jobs or pods without a replication controller or replica set
pods of a daemon set
pods with local storage
pods which are violating the pod disruption budget
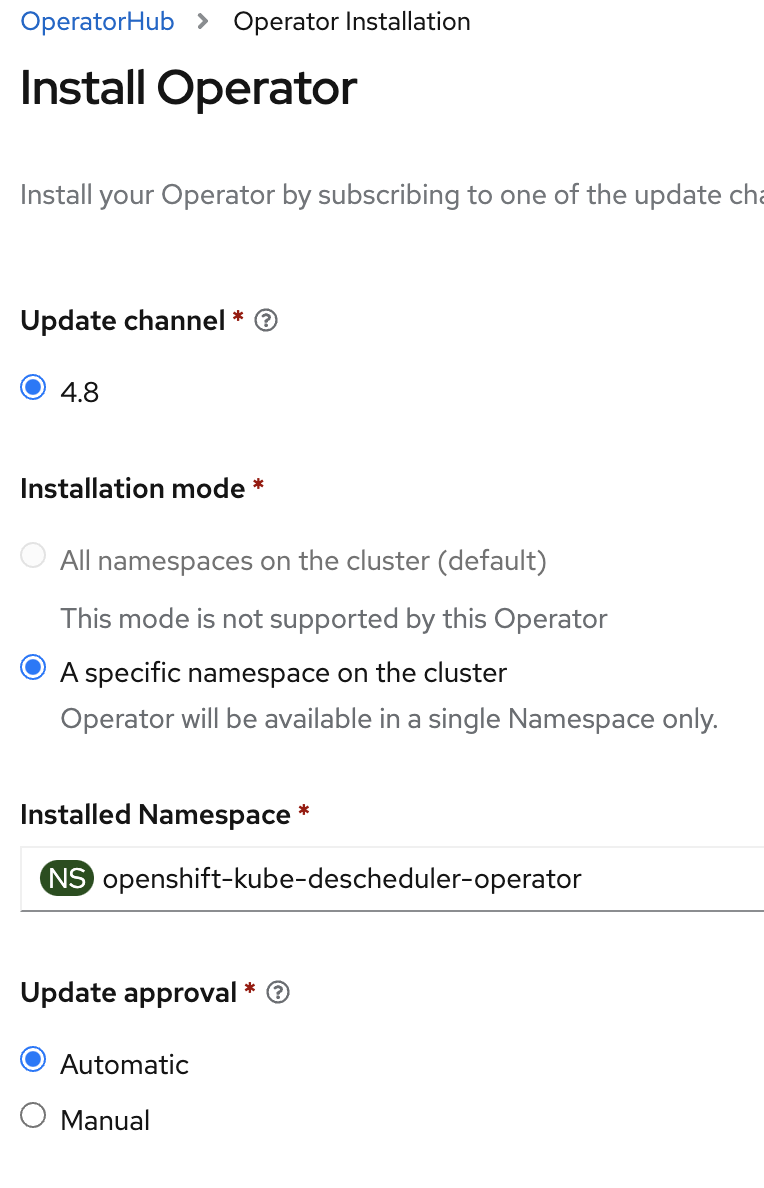
Installing the Descheduler
The Descheduler is not installed by default and must be installed after the cluster has been initiated. This is done by installed the Kube Descheduler Operator.
First we create a separate namespace for our operator, including a label:
Lately I came across several issues where a given Helm Chart must be modified after it has been rendered by Argo CD. Argo CD does a helm template to render a Chart. Sometimes, especially when you work with Subcharts or when a specific setting is not yet supported by the Chart, you need to modify it later … you need to post-render the Chart.
In this very short article, I would like to demonstrate this on a real-live example I had to do. I would like to inject annotations to a Route objects, so that the certificate can be injected. This is done by the cert-utils operator. For the post-rendering the Argo CD repo pod will be extended with a sidecar container, that is watching for the repos and patches them if required.
The article SSL Certificate Management for OpenShift on AWS explains how to use the Cert-Manager Operator to request and install a new SSL Certificate. This time, I would like to leverage the GitOps approach using the Helm Chart cert-manager I have prepared to deploy the Operator and order new Certificates.
I will use an ACME Letsencrypt issuer with a DNS challenge. My domain is hosted at AWS Route 53.
However, any other integration can be easily used.
During a GitOps journey at one point, the question arises, how to update a cluster? Nowadays it is very easy to update a cluster using CLI or WebUI, so why bother with GitOps in that case? The reason is simple: Using GitOps you can be sure that all clusters are updated to the correct, required version and the version of each cluster is also managed in Git.
All you need is the channel you want to use and the desired cluster version. Optionally, you can define the exact image SHA. This might be required when you are operating in a restricted environment.
Argo CD or OpenShift GitOps uses Applications or ApplicationSets to define the relationship between a source (Git) and a cluster. Typically, this is a 1:1 link, which means one Application is using one source to compare the cluster status. This can be a limitation. For example, if you are working with Helm Charts and a Helm repository, you do not want to re-build (or re-release) the whole chart just because you made a small change in the values file that is packaged into the repository. You want to separate the configuration of the chart with the Helm package.
The most common scenarios for multiple sources are (see: Argo CD documentation):
Your organization wants to use an external/public Helm chart
You want to override the Helm values with your own local values
You don’t want to clone the Helm chart locally as well because that would lead to duplication and you would need to monitor it manually for upstream changes.
This small article describes three different ways with a working example and tries to cover the advantages and disadvantages of each of them. They might be opinionated but some of them proved to be easier to use and manage.
OpenShift Logging is one of the more complex things to install and configure on an OpenShift cluster. Not because the service or Operators are so complex to understand, but because of the dependencies logging has. Besides the logging operator itself, the Loki operator is required, the Loki operator requires access to an object storage, that might be configured or is already available.
In this article, I would like to demonstrate the configuration of the full stack using an object storage from OpenShift Data Foundation. This means:
Installing the logging operator into the namespace openshift-logging
Installing the Loki operator into the namespace openshift-operators-redhat
Creating a new BackingStore and BucketClass
Generating the Secret for Loki to authenticate against the object storage
Configuring the LokiStack resource
Configuring the ClusterLogging resource
All steps will be done automatically. In case you have S3 storage available, or you are not using OpenShift Data Foundation, the setup will be a bit different. For example, you do not need to create a BackingStore or the Loki authentication Secret.
 Thomas Jungbauer
( Lastmod: 2024-05-08 )
-
2 min read
Thomas Jungbauer
( Lastmod: 2024-05-08 )
-
2 min read